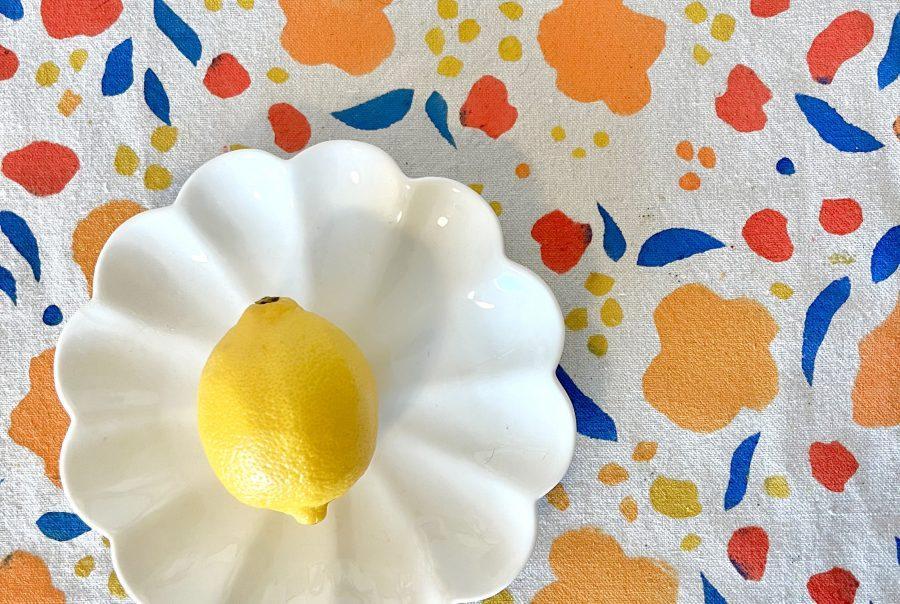
If there’s one thing I’ve always wanted to explore, it’s Printmaking. Lately, I’ve been experimenting with fabric printing techniques including screen printing, block printing, and stencil printing. I decided to give the stencil method a go and it immediately stuck with me, I found it very flexible for small projects. It’s quick to set up and easy to clean. Here’s how to make a hand-printed fabric, using the stencil method.
What you will need:
Stencil sheets, paper, pencil, cutting tool – exacto knife (or cricut), Marker, acrylic paint, fabric medium, small measuring scale, masking or painters tape, stencil brushes, cotton Fabric (pre-washed), hair dryer (not necessary)
1. Create your Motif
Sketch out your elements using a permanent marker so that the marks don’t wipe off as you cut. Make large sketches on your stencil sheet, making sure the elements don’t get too close to each other.
You really don’t need fancy stencil sheets to get started. Your plastic file or the cover of a laminating sheet would work.
If you’d rather cut your elements by hand using an Exacto knife, like I did, then you would not need a Cricut machine.
Tip: To avoid errors, try out your pattern motif on paper using a pencil and then, duplicate the final sketch on your stencil sheet.

2. Prep the Fabric
Make sure your cotton fabric has been pre-washed. Cut out a yard (or any desired size of choice) and iron. This would make sure you have a smooth surface for your paint.
3. Prep your colors
You can either use fabric paints like these ones, or a mix of acrylic paints and fabric (or textile) medium. You can buy textile medium at your local craft store. If you are going with the latter, then you would need a small kitchen scale to measure the ‘paint to medium’ ratio.
The recommended ratio is 2:1, which means for every 2oz of paint, you will need 1oz of medium (use the metric system of choice). For example, if you measure 10oz of paint, add 5oz of the medium, to give you 15oz .
Store your paint mixture in a sealable container and can be re-used.
4. Start Printing
Let the fun part begin! It’s time to start printing.
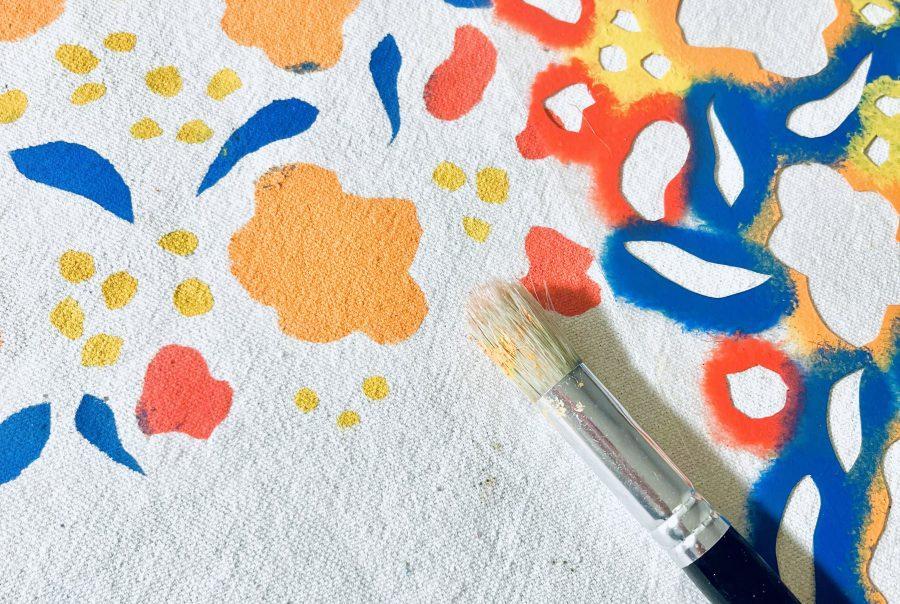
Place your stencil sheet on your fabric and secure the edges with masking or painters tape. Next, using your brush, you will need to transfer a little bit of paint to your fabric.
Tip 1: Avoid using the regular paint brush or sponge as this may cause smears. Use rough or stencil brushes.
Make sure you don’t use excess paint. If you feel the paint is too much, dab the brush on a sponge or paper towel. You can always add more layer of paint as you go.
Tip 2: Use separate brushes for each color. This will save you time washing brushes frequently.
5. Repeat the Process
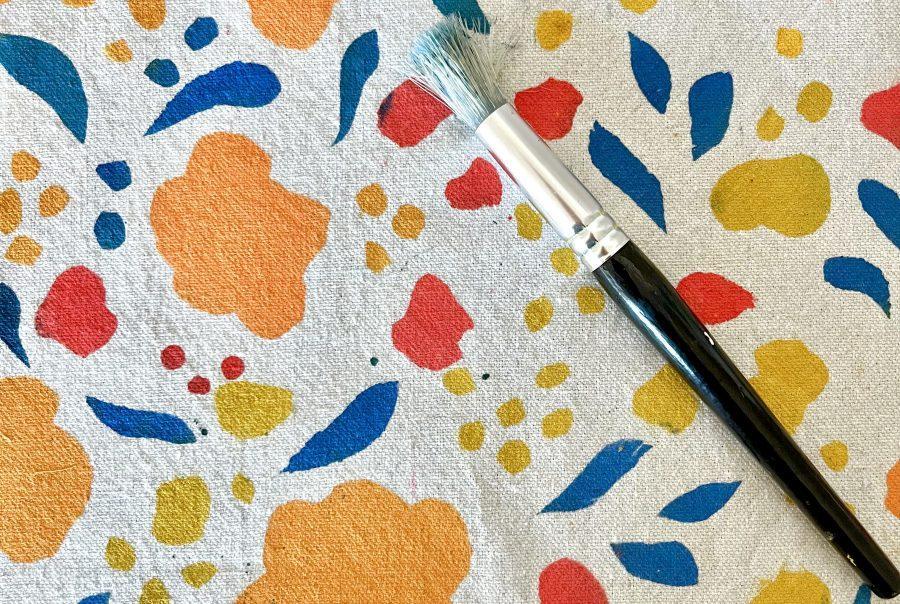
Once one motif is complete place the stencil around the entire fabric until you are happy with it.
Pro tip: to achieve a half drop pattern, place your stencil on the same vertical plane but when it moves across horizontally, it’ll move across and then down half the size of your repeat square. For this project, I made an all-over repeat – moving the stencil in random placements.
6. Final steps
You made it! Let your fabric dry. This may take a few hour to one day depending on the density of your fabric. You can also use a hair dryer for a quicker drying process.
Once it’s all dry, it’s time to make the print permanent. Use a regular iron to heat-set for about 2-5 minutes (or your fabric medium recommendation).
Place a clean, dry pressing cloth over the front of the print. Avoid using the steam setting or any moisture. Fabric paints set the best with dry heat.